As a metro-sexual hipster developer however you want something that is fast to setup, easy to use and minimal. To be fair there is a huge amount of open-source free continuous integration (CI) programs that do this. On my recent hunt however I found one that shines amongst them: StriderCD.
The big advantages of Strider:
- Stable
- Beautiful intuitive interface
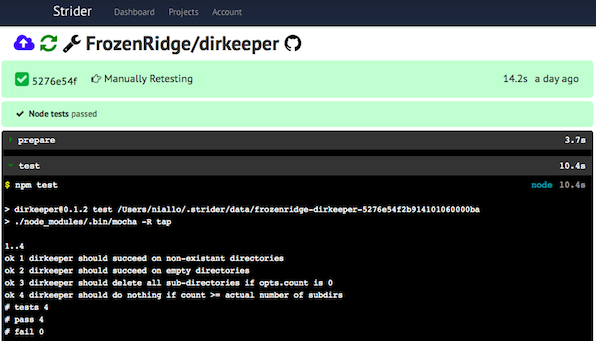
- Integration with Github
- Small enough to hack (they even have a guide on how to hack it!)
- Plugin API
- Helpful active community!
In this tutorial I will setup Strider so that it works even if you sit behind 9.000 firewalls in your company. I will also set it up so that you can move it around and reuse it in the future without the hustle of setting up things from the beginning. For this I will use Docker ofcourse, the hipster's French wrench. I will also make it so that you can run other containers inside the container where Strider runs. This is helpful if you want to run tests inside their own container for example.
Building Strider
To be sure that you have the latest Strider it is wise that we build everything from scratch. I have created a Dockerfile that will make an image with the latest Strider and setup everything up so that you can use it with Docker.
In case you don't have Docker:
sudo apt-key adv --keyserver hkp://keyserver.ubuntu.com:80 --recv-keys     36A1D7869245C8950F966E92D8576A8BA88D21E9
sudo sh -c "echo deb https://get.docker.io/ubuntu docker main > /etc/apt/sources.list.d/docker.list"
sudo apt-get update
sudo apt-get install -y lxc-docker
Then we can just build Strider:
git clone https://github.com/Pithikos/Dockerfiles
cd Dockerfiles/strider-docker
./preprocess
docker build -t strider:barebones .
preprocess is a simple shell script I made that will edit the Dockerfile so that in the next step where we build it, it installs the same Docker version as the one outside of the container. This is critical since if the Docker inside the container is different from the one outside of it, we won't be able to run Docker inside the Strider container.
Running Strider
At this point we have a Docker image named
strider:barebones which has a minimal but powerful setup for Strider. It's time we run it:ID=$(nohup docker run -d --privileged -v $PWD/data/db:/data/db -p 3000:3000 strider:barebones)
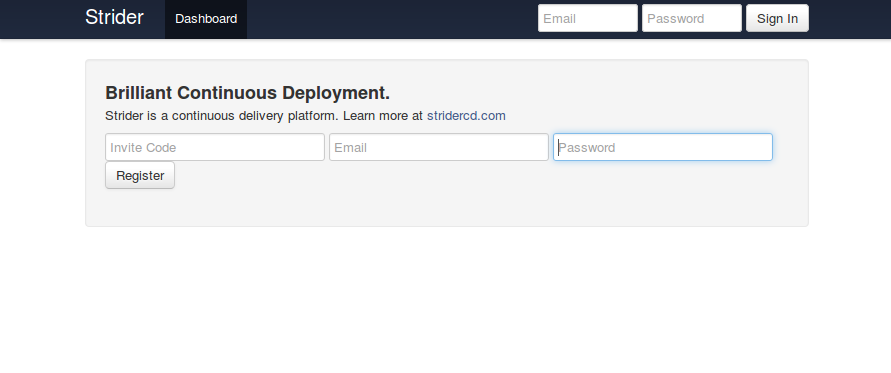
This will run the container with the database stored at
$PWD/data/db. That way if for whatever reason the container stops running, we have all the user accounts, projects, etc. intact. Notice also that I use the --privileged flag. This is merely so that we can run containers in containers.To verify that everything works open your browser at http://localhost:3000 and you should see the login page. Notice that you won't be able to login to Strider at this point since my Dockerfile recipy keeps things minimal - that means no user accounts by default. Adding accounts is super-easy and you don't even have to restart anything so that won't be a problem.
Adding an account
In order to add an administrator account to Strider you just have to access the running container and create a user from within. If you use an older Docker you can use my tool docker-enter. If you run Docker 1.3+ then you can use
docker exec.docker-enter way:
sudo docker-enter $ID
strider addUser
..
exit
docker exec way:
docker exec -it $ID strider addUser
Follow the instructions to make a new account. Then just exit the running image and just refresh the webpage http://localhost:3000 (no need to restart the running image). You should be able and login in to Strider with the credentials you just gave!
Saving for the future!
Now, notice that all configurations, projects, user accounts, etc. are all stored in the folder
db/data. In order to move the whole thing somewhere you simply move the folder to the computer you want and run strider:barebones as we did before. Ofcourse you will need to rebuild the whole thing as before as well or you can either save it to the cloud:docker commit $ID username/strider:barebones
docker push username/strider:barebones
Remember to replace username with your own username at the Docker registry. Once all this is done, you can run directly strider from any computer. The image will be downloaded automatically.
docker run -d --privileged -v $PWD/data/db:/data/db -p 3000:3000 username/strider:barebones
If data/db is not at the directory where you try to run Strider then a fresh database instance will be used.
No comments:
Post a Comment